\pause and \item<+-> in my Beamer presentations, to present information piecewise. (I’m aware that some people disapproves this.) (By the way, the Manhattan theme is a Keynote lookalike.)\documentclass{beamer}
\usetheme{Manhattan}
\begin{document}
\begin{frame}
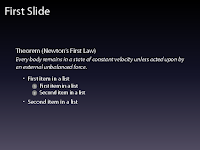
\frametitle{First Slide}
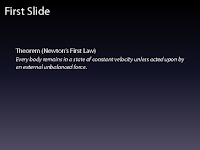
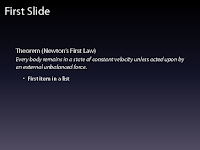
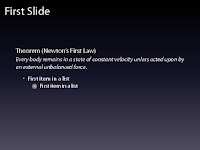
\begin{theorem}[Newton's First Law]
Every body remains in a state of constant velocity unless acted upon by an external unbalanced force.
\end{theorem}
\pause
\begin{itemize}
\item<+-> First item in a list
\begin{enumerate}
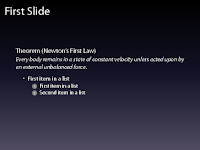
\item<+-> First item in a list
\item<+-> Second item in a list
\end{enumerate}
\item<+-> Second item in a list
\end{itemize}
\end{frame}
...
\end{document}
\usetheme{Manhattan}
\begin{document}
\begin{frame}
\frametitle{First Slide}
\begin{theorem}[Newton's First Law]
Every body remains in a state of constant velocity unless acted upon by an external unbalanced force.
\end{theorem}
\pause
\begin{itemize}
\item<+-> First item in a list
\begin{enumerate}
\item<+-> First item in a list
\item<+-> Second item in a list
\end{enumerate}
\item<+-> Second item in a list
\end{itemize}
\end{frame}
...
\end{document}
For archival and distribution purposes, I usually invoke
\documentclass[trans]{beamer}
to get a PDF file in which all the overlays are “condensed” to their respective single slides.
When it comes to printing the slides for my own reference, though, I often prefer to have the presentations 4-up on an A4 sheet. In addition, the Manhattan themed presentation isn’t really printer-friendly. So I’d instruct Beamer to only use the Manhattan theme in
beamer and trans modes; and that it should use some mostly-white theme as well, as placing the slides 4-up on an A4 paper in handout mode (code lifted from the Beamer manual).\documentclass{beamer}
% \documentclass[handout]{beamer}
% \documentclass[trans]{beamer}
\mode<beamer|trans>{
\usetheme{Manhattan}
}
\mode<handout>{
\usetheme{default}
\usepackage{pgfpages,pgf}
\pgfpagesuselayout{4 on 1}[a4paper, landscape, border shrink=5mm]
\pgfpageslogicalpageoptions{1}{border code=\pgfstroke}
\pgfpageslogicalpageoptions{2}{border code=\pgfstroke}
\pgfpageslogicalpageoptions{3}{border code=\pgfstroke}
\pgfpageslogicalpageoptions{4}{border code=\pgfstroke}
}
...
Running
pdflatex while activating the handout mode then gives me this output: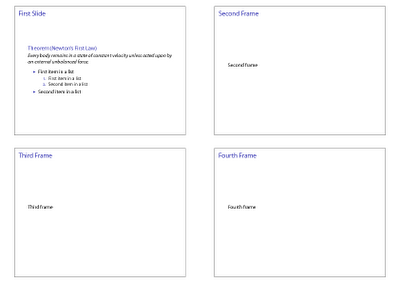
Just remember to process your file twice every time you change the mode, so that all hyperlinks and bookmarks are updated properly.